Set Up Dioptra in the GUI#
Before running your first plugin task, we need to prepare the environment.
Prerequisites#
Before completing this tutorial, ensure you have installed Dioptra and created a deployment.
Dioptra Workflow Setup#
Step 1: Start Dioptra Services#
In your terminal, navigate to your deployment folder. The deployment folder should have
several docker-compose*.yml files in it and an envs/ folder with certificates and credentials
for the microservices.
cd path/to/deployment-folder
Once in the deployment folder, start the Docker containers:
docker compose up
You should now be able to access the Dioptra web GUI in your browser. In the address bar, enter the configured port (default port: http://127.0.0.1). The Dioptra login screen should appear.
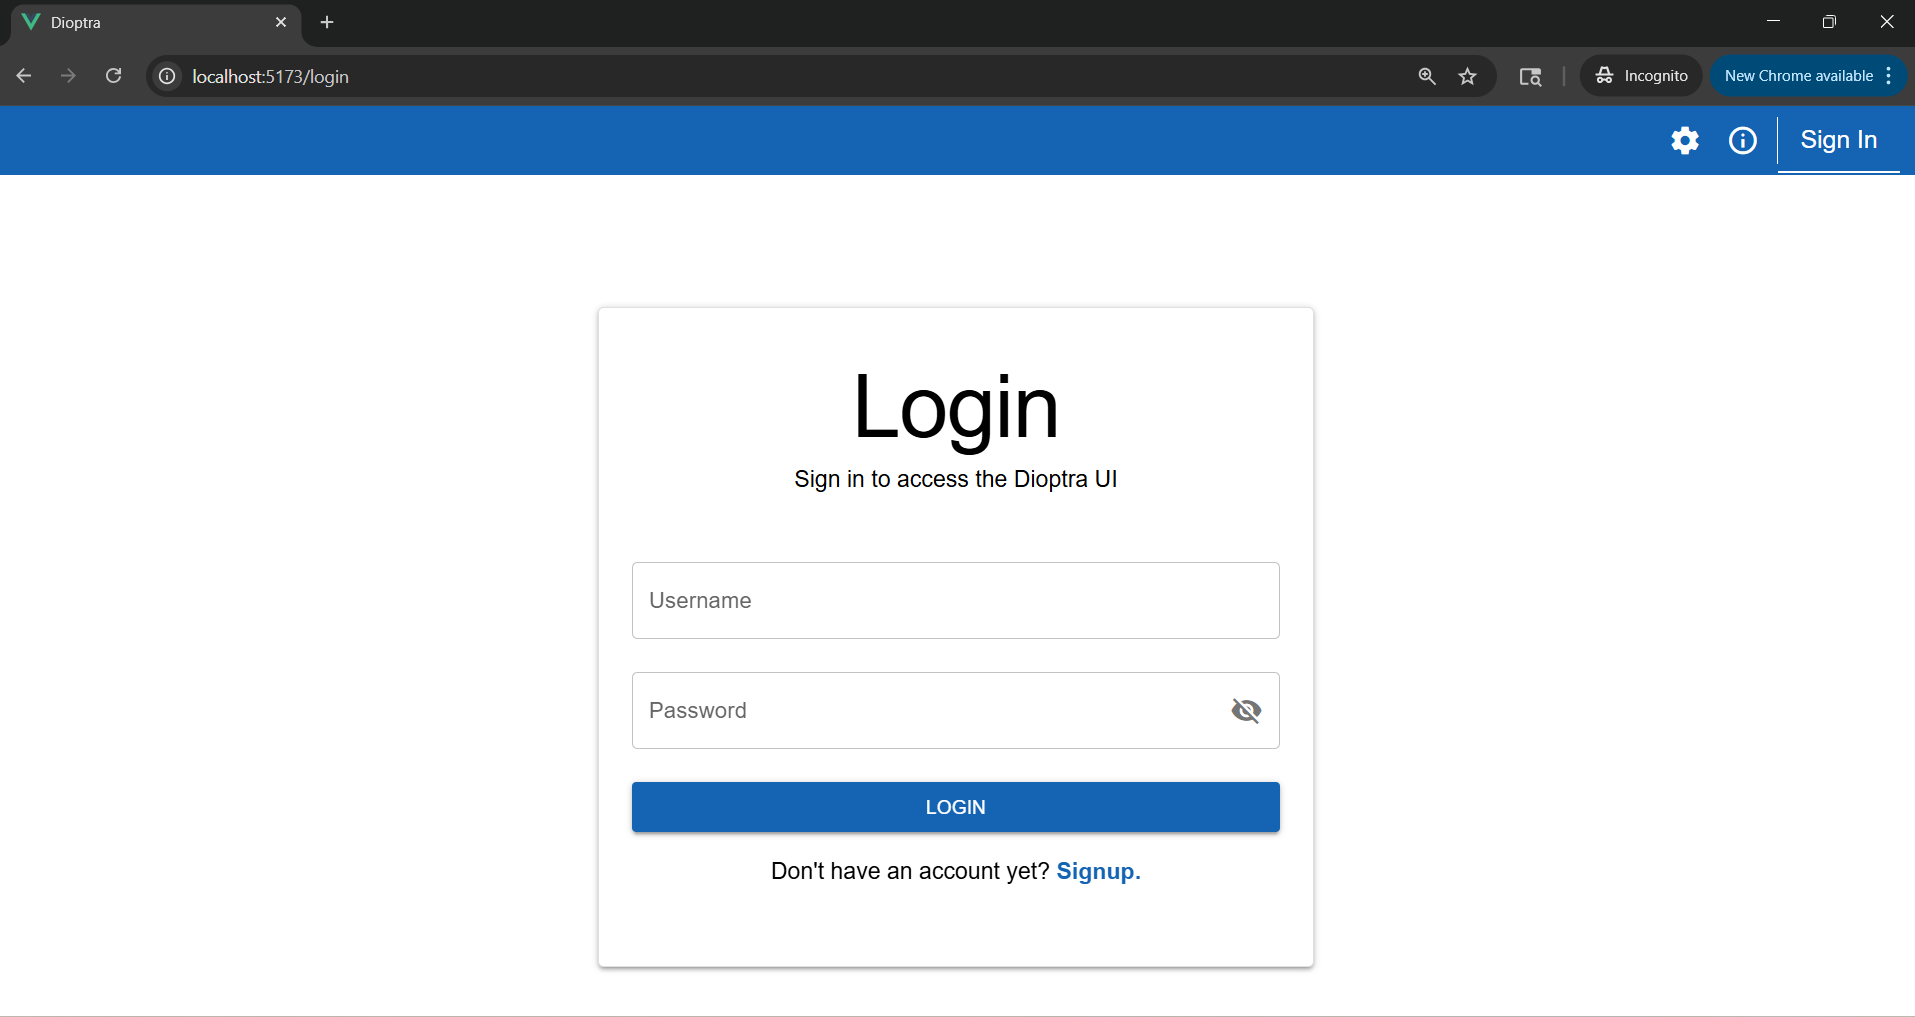
The Dioptra login screen in the GUI.#
Learn More
Prepare Your Deployment - Learn about the deployment configuration options
Step 2: Login or Sign Up#
After opening the web GUI, either log in with an existing account or sign up for a new one.
Learn More
Users and Groups - Explanation of users and groups
Create Users and Groups - Detailed instructions on creating users and groups
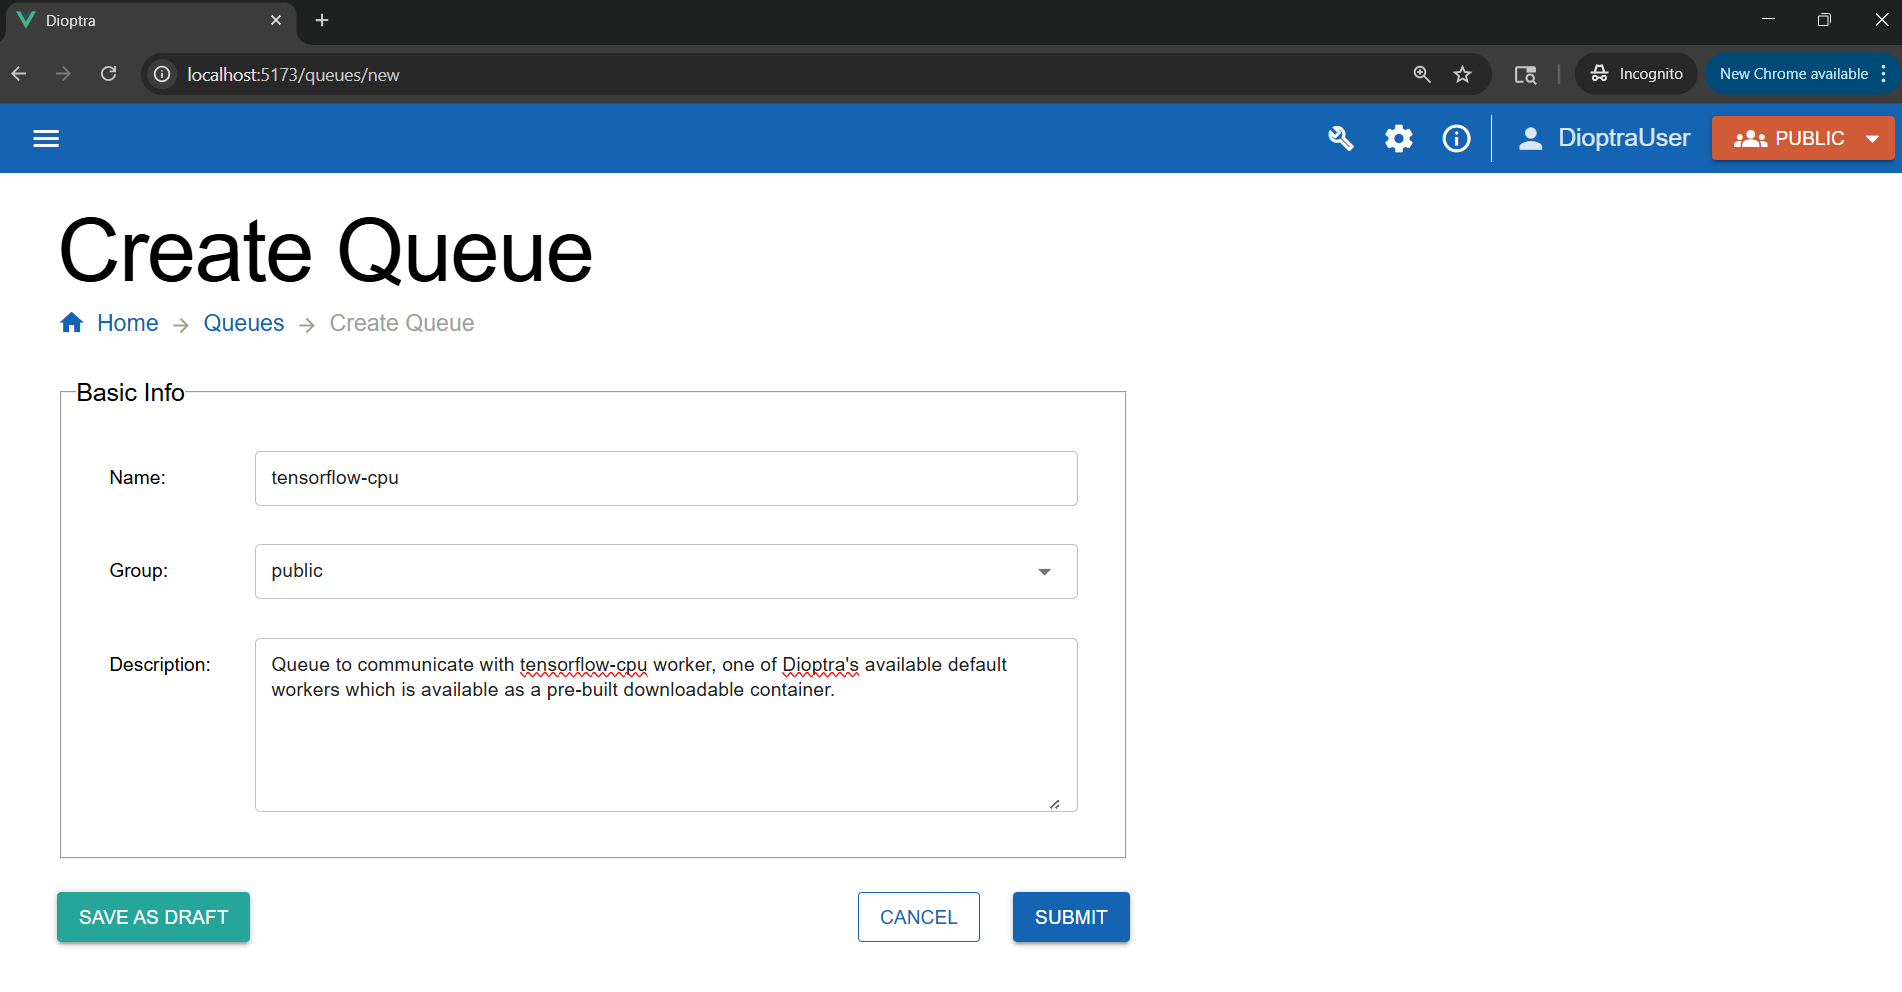
Step 3: Create a Queue#
Navigate to the Queues tab and create a new queue:
Name: tensorflow-cpu
Visibility: Public
We call it tensorflow-cpu because this tutorial assumes only CPU resources are available. By making it public, all users in the Public group can submit jobs to it.
Learn More
Create Queues - Instructions on customizing queues and workers
Queues and Workers - Explanation on Queues and Workers
Create a Custom Worker Container - Create custom worker containers for Dioptra
Next Steps#
Now that Dioptra is set up, let’s begin: Running Hello World