Install MOSAIC on Windows
In the following guide, we provide step-by-step instructions on setting up and running MOSAIC on Windows. To simplify the isntallation, we use Anaconda to install some required dependencies.
1. Installing Anaconda
First we will install Anaconda to easily install the dependencies required by MOSAIC. Download the 64-bit Anaconda installer for Python 3.7 and use the graphical installer.
2. Installing MOSAIC dependencies within Anaconda
MOSAIC is written in Python and utilizes a number of different packages and utilities. In the following we’ll install a number of these (specifically, python, gcc, gfortran, qt, and pyQt4). With Anaconda this is easy to do.
First, we create a self-contained environment to host the MOSAIC installation. Open the Anaconda prompt (Start Menu–>Anaconda 2–>Anaconda Prompt) and type:
$ conda create -n mosaicENV python=3.7
Activate the new environment:
$ conda activate mosaicENV
Add a new installation source (conda-forge) for packages that are not included with Anaconda out of the box:
$ conda config --add channels conda-forge
Install all the dependencies by typing:
$  conda install
                      cython=0.29
                      pandas=0.20.3
                      nose=1.3.7
                      numpy=1.11.1 o
                      scipy=0.18.1
                      docutils=0.14
                      flask=0.12.2
                      matplotlib=1.5.3
                      pyqt=4
                      lmfit=0.9.3
                      uncertainties=2.4.8.1
                      PyWavelets=0.5.2
                      coverage=4.5.1
                      codecov=2.0.15
Hint
The latest dependency version numbers can be obtained from the requirements.txt file.
Install the MOSAIC source by cloning the Github repository or using one of the methods below.
3. Installing MOSAIC
Install using Setuptools
The command-line version of MOSAIC can be installed using pip as shown below. Any additional dependencies required by MOSAIC will be installed automatically.
pip install mosaic-nist
Note
Installing the graphical interface requires one to install MOSAIC from the source distribution as outlined below.
Install from a Downloaded Source Distribution
First we need to obtain the MOSAIC source code. For analyzing publication data, we recommend downloading the latest stable version of the source code (download source). Alternatively, the latest development version can be downloaded from the MOSAIC page on Github. Here we will show you how to set up MOSAIC from the latest stable release:
Download the latest release (download source)
Create a directory for the project source. In this case we will create a directory called MOSAIC, located in
~/projects/, where ‘~’ is your home directory.
$ mkdir ~/projects/MOSAIC
Navigate to the directory:
$ cd ~/projects/MOSAIC
Extract the source into this folder.
Make sure you are working in the virtual environment we set up in the previous step by typing:
$ workon MOSAIC
Note
You will notice that (MOSAIC) now appears in front of the $ prompt in your shell. This inidicates that the virtual environment is active. We have employed this notation to indicate commands that should be run from inside the virtual environment.
MOSAIC and its dependencies are built using setuptools. Navigate to ~/projects/MOSAIC/ and run the following:
(MOSAIC)$ python setup.py mosaic_deps
Finally, add the installation directory (~/projects/MOSAIC as set up previously) to your PYTHONPATH as shown below. This addition can be made permanent by adding the line below to your .bash_profile (OS X) or .bashrc (Ubuntu) script.
(MOSAIC)$ export PYTHONPATH=$PYTHONPATH:~/projects/MOSAIC
4. Testing MOSAIC
To test the MOSAIC installation, in the MOSAIC directory type
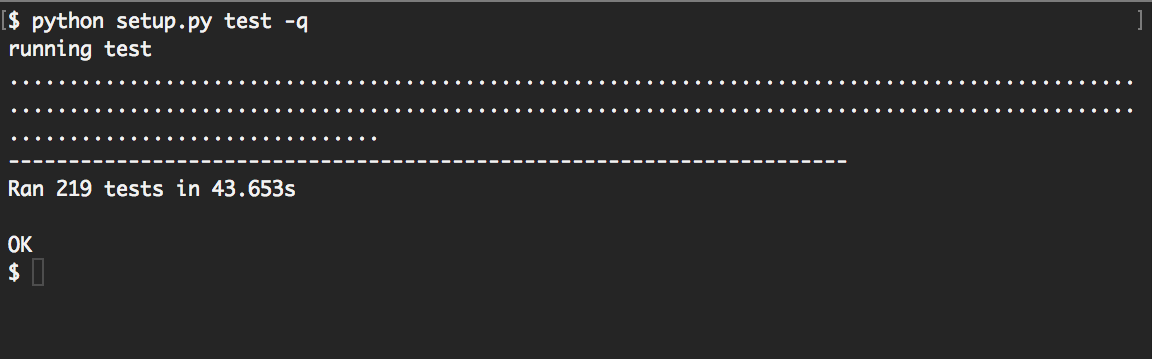
$ python setup.py test -q
Verify that all tests pass as seen below