Install MOSAIC on Mac OS X
In the following guide, we provide step-by-step instructions on setting up and running MOSAIC on OS X. To simplify the isntallation, we use Homebrew to install some required dependencies. Homebrew requires Apple command line tools, but will directly prompt you to install it on set up.
1. Installing Homebrew
First we will install Homebrew, a useful package manager, to help install some of the dependencies required by MOSAIC. You will need administrator access for this step. In the OS X Terminal, run the following command:
$ ruby -e "$(curl -fsSL https://raw.githubusercontent.com/Homebrew/install/master/install)"
Note, if the Apple command line tools are not installed, Homebrew will prompt you do so during installation.
Hint
To test if Homebrew is properly installed, run the following in the terminal: brew doctor
To ensure that Homebrew is set up correctly, add the Homebrew directory to ~/.bash_profile. This can be done using the following command:
$ echo 'export PATH="/usr/local/bin:$PATH"' >> ~/.bash_profile
Hint
If you don’t have a .bash_profile file in your home directory, you can create one manually using a text editor.
Restart the terminal to update your shell.
2. Installing brewed Python and other neccessary packages
MOSAIC is written in Python and utilizes a number of different packages and utilities. In the following we’ll install a number of these (specifically, python, gcc, gfortran, qt, and pyQt4). With homebrew this is easy to do in one line! Run the following in the terminal:
$ brew install python gcc gfortran qt pyqt
At this point, it is a good idea to update the PYTHONPATH environment variable in ~/.bash_profile:
$ export PYTHONPATH=$PYTHONPATH:/usr/local/lib/python3.7/site-packages
3. (Optional) Install and Setup Virtual Environment
It is generally a good practice to run MOSAIC from within a dedicated virtual environment. This minimizes conflicts with other installed programs. While we highly recommend this approach, it is not required to run MOSAIC. If you prefer to skip this, move on to the next step now.
To setup a virtual environment, we need two different packages: virtualenv, which creates the virtual environments, and virtualenvwrapper, a wrapper for virtualenv that simplifies set up and use.
To install these and set up the virtual enviroment wrapper, run the following in a shell:
$ pip install virtualenv virtualenvwrapper
Hint
Under Ubuntu, you may need install virtualenv and virtualenvwrapper as root. Simply prefix the command above with sudo.
If you would like virtualenvwrapper to be available each time you open a new terminal window, add the line below to ~/.bash_profile on OS X or ~/.bashrc on Linux.
source /usr/local/bin/virtualenvwrapper.sh
Hint
Depending on the process used to install virtualenv, the path to virtualenvwrapper.sh may vary. Find the approporiate path by running $ find /usr -name virtualenvwrapper.sh. Adjust the line in your .bash_profile or .bashrc script accordingly.
Open a new shell to make the new virtual environment available. Now we are ready to create a virtual environment. You can choose any name for your virtual environment, here we name it MOSAIC:
$ mkvirtualenv -p <path to python>/python MOSAIC
Hint
We explicitly specify the Python installation to use. This is not mandatory, but is useful if you have multiple Python installations on your computer. The <path to python> may vary according to the specific version of python you wish to use. In most cases, this will be either /usr/local/bin/ or /usr/bin
4. Installing MOSAIC
Install using Setuptools
The command-line version of MOSAIC can be installed using pip as shown below. Any additional dependencies required by MOSAIC will be installed automatically.
pip install mosaic-nist
Note
Installing the graphical interface requires one to install MOSAIC from the source distribution as outlined below.
Install from a Downloaded Source Distribution
First we need to obtain the MOSAIC source code. For analyzing publication data, we recommend downloading the latest stable version of the source code (download source). Alternatively, the latest development version can be downloaded from the MOSAIC page on Github. Here we will show you how to set up MOSAIC from the latest stable release:
Download the latest release (download source)
Create a directory for the project source. In this case we will create a directory called MOSAIC, located in
~/projects/, where ‘~’ is your home directory.
$ mkdir ~/projects/MOSAIC
Navigate to the directory:
$ cd ~/projects/MOSAIC
Extract the source into this folder.
Make sure you are working in the virtual environment we set up in the previous step by typing:
$ workon MOSAIC
Note
You will notice that (MOSAIC) now appears in front of the $ prompt in your shell. This inidicates that the virtual environment is active. We have employed this notation to indicate commands that should be run from inside the virtual environment.
MOSAIC and its dependencies are built using setuptools. Navigate to ~/projects/MOSAIC/ and run the following:
(MOSAIC)$ python setup.py mosaic_deps
Finally, add the installation directory (~/projects/MOSAIC as set up previously) to your PYTHONPATH as shown below. This addition can be made permanent by adding the line below to your .bash_profile (OS X) or .bashrc (Ubuntu) script.
(MOSAIC)$ export PYTHONPATH=$PYTHONPATH:~/projects/MOSAIC
5. Testing MOSAIC
To test the MOSAIC installation, in the MOSAIC directory type
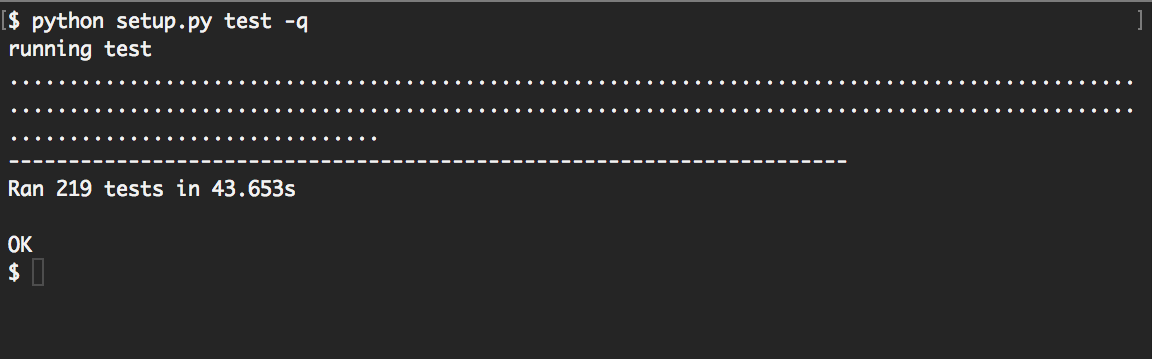
$ python setup.py test -q
Verify that all tests pass as seen below